
Feudum is a pretty meaty ‘sandbox’ style board game, where it mixes numerous different mechanics together in an open-ended thematic way and then simply folds its hands in waiting as you try to explore and strategize your way across the finish line. This is a game where there are no real handrails in terms of what you can – or even should – do in order to win, quickly putting it as the second most complicated part of playing the game after, well, trying to learn what the rules (and your options) are.
It’s not uncommon during your first few playthroughs to be utterly confused on exactly what you should be doing, and the combination of learning such a hefty Euro game on top of then being left completely on your own as to what your next steps should be can be quite overwhelming even for experienced gamers. Therefore, to help avoid anyone throwing their hands up in defeat before the game even gets underway, we’ve gone back to the source and asked designer Mark Swanson to provide some general thoughts and basic strategy suggestions on how to navigate the strange and scary lands that are Feudum.
The question I get asked about Feudum most frequently is, “Have you ever lost?” People assume since I invented the game, I must hold the keys to victory. The truth is, I have spent many years making sure there are multiple paths to victory. This makes the game replayable, and it’s why some games stand the test of time while others fade away.
 Take Puerto Rico by Andreas Seyfarth, for example. Here’s a game that held the #1 spot on BoardGameGeek for many years. The reason? For a long time no one was thought able to “break” the game. There are many paths to victory and enough interaction to prevent one person from getting too far out in front – an endearing quality found in most Euro games. I must say I was dismayed when I learned that some folks had found a statistical way to optimize success at Puerto Rico. Math is the death of mystery. The killer of unpredictability.
Right now, if you were to ask me how to win at Feudum, I’d say, “I’m not entirely sure.” What brings me great joy is testing one of my own theories and losing. Or winning by a ridiculously close margin, rendering the ‘win’ less significant. This happens so frequently that at some point I had to concede I don’t know how to win the game. I’ve engineered the game so you can pursue uniquely different paths, or even a combination of approaches, in hopes of winning. That said, I have a few hunches about things you can do to help your odds.
I will elaborate on some of the nuances that keep rearing their heads. I share these thoughts not to take the fun out of the game, but to generate discussion. To stir the pot. To invite disagreement. Only in this way can I become better at my own game. Because, as much as losing proves to me that the game is balanced, I still want to win sometimes!
Starting with the Basics
Before I get into a discussion about pawns and guilds, or discuss primary and supplemental strategies, I’d be remiss if I didn’t point out a few strategy basics to consider:
Recurring VP: If you flip your player reference card over, you’ll see there are ways to score veneration points immediately at the dawn of each epoch and at the end of the game. The ones scored at the dawn of each epoch are the most important as they are recurring points. Therefore, it behooves you to satisfy as many of these conditions early on so these points can accumulate automatically. While it’s hard to do everything, try not to get stuck in just one region or without a single landscape or with membership in just one guild!
Character Pawn Synergies: Pairing certain character pawns together will yield greater results. While there are lots of interesting synergies between pawns, the most obvious one relates to the guild status earned by ruling outposts, farms, or towns. For example, a member of both the Farm and Knight Guilds will receive +1 status for each farm ruled. Similarly, the Noble and Merchant benefit from ruled towns, and the Monk and Alchemist benefit from ruled outposts.
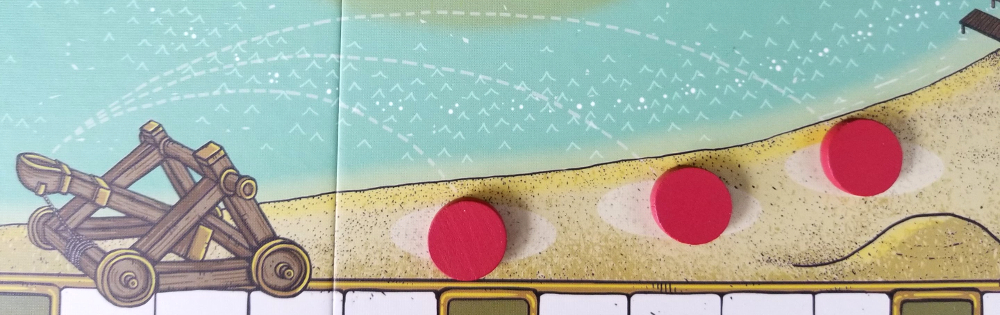
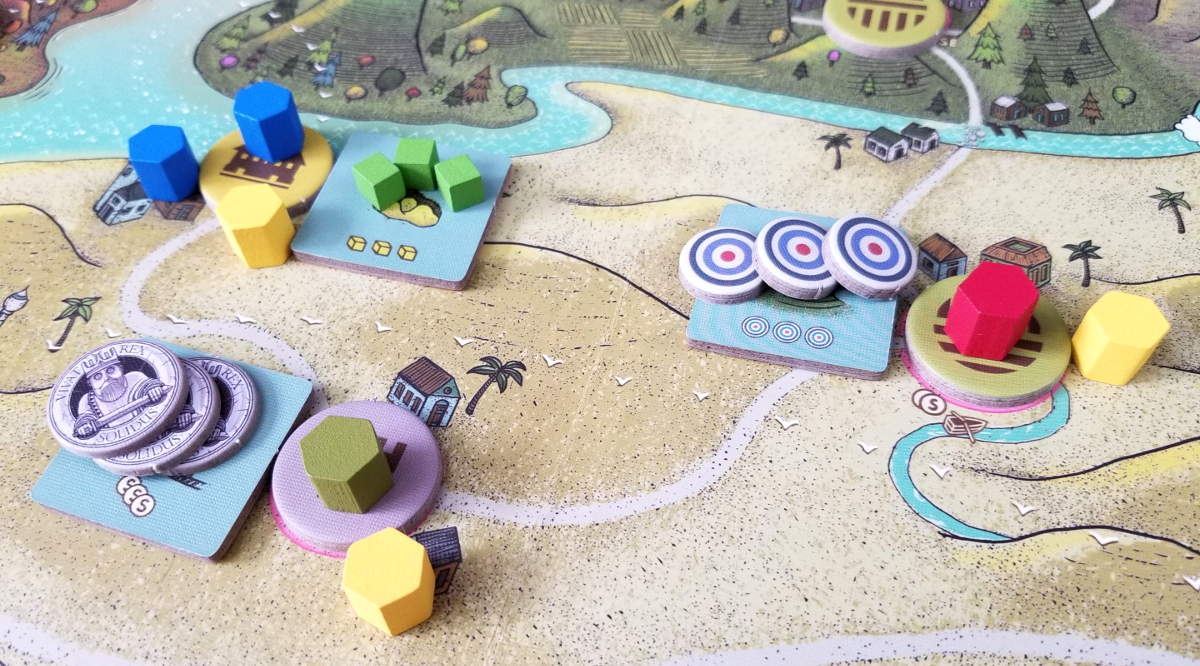
Military service can be challenging but the rewards can be quite lucrative
To Be or Not to Be a Vassal: Knowing if and when to become a vassal is tricky! (Feudum rulers are ‘vassals’ and must pay homage to the king or risk losing points for disloyalty.) Pulling off a successful conquer before ruling a feudum may be a smart way to ease into vassalage. Covering even one space on the military service track may be a sufficient return on this strategic investment. However, feudums are targets and must be defended, so shying away from vassalage can be equally strategic. If you do decide to rule a feudum, then rule as many as you can; disloyalty is the same no matter the number of feudums ruled!
Feeding Your Pawns: If you don’t build an engine to feed your pawns, you’ll spend too many actions visiting the Merchant Guild or moving to pilfer a single food. Make sure you rule at least one farm and / or think about tending an orchard or a sulfur mine. And don’t forget the 2-round efficiency of nourishing your pawns with wine – provided they are a safe distance from your opponents.
Region/Landscape Tiles: Improving to draw tiles early on gives you options. Landscapes take the sting out of your rulers getting bumped to serfdom by players. And even if you do not plan on tending landscapes, the tile is wild and is as good as saltpeter (5th action), or as food / wine to nourish your pawns in a pinch.
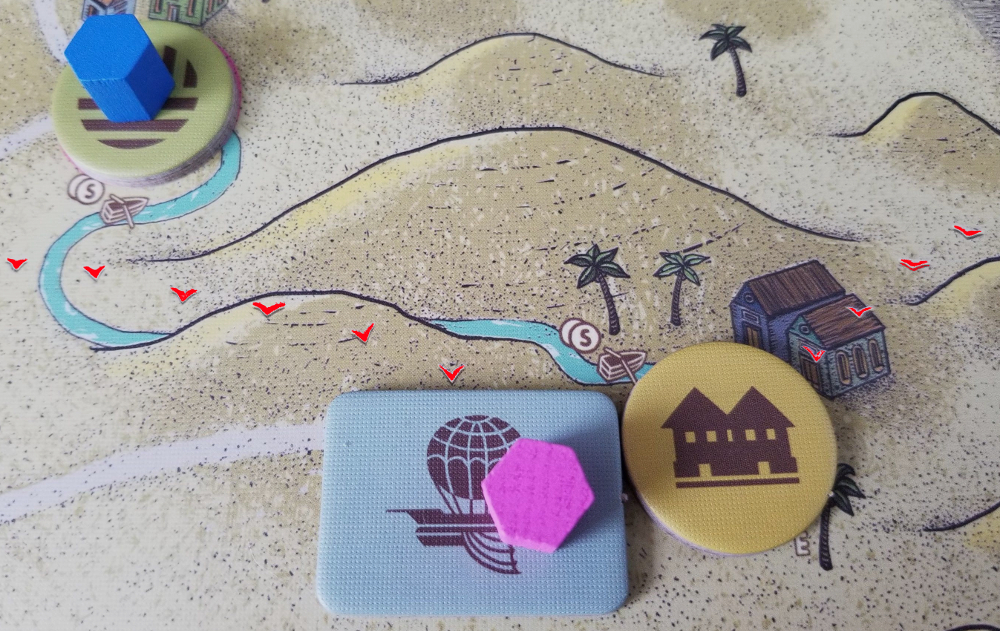
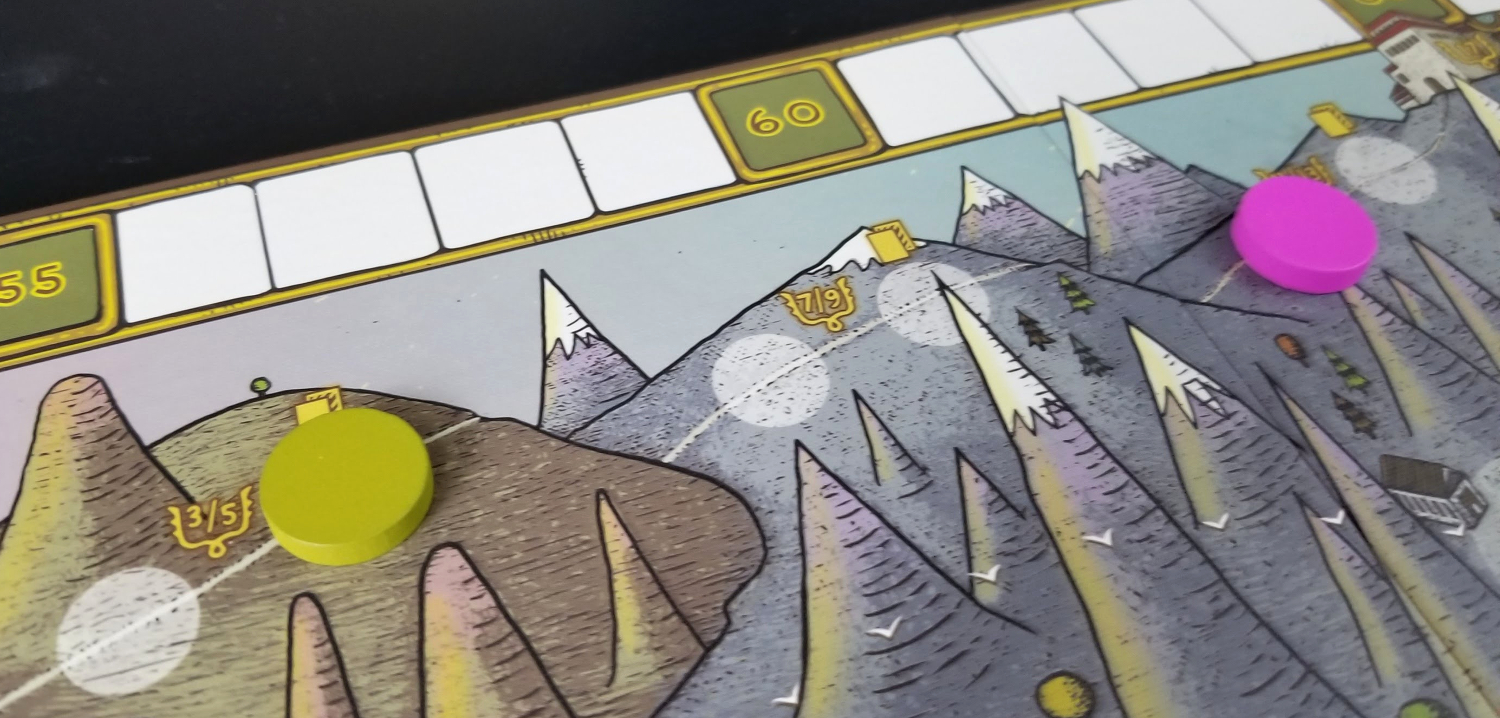
Unless the ferries are open, the only way into this remote town is by airship (route highlighted) or a road from the coast
Sulfur In Your Barrel: It’s smart to have a little bit of sulfur in your barrel. Not only will this efficiently nourish a pawn, the ‘Feast’ special ability gives you the option to take over the guild action of any opponent’s pawn or feudum you are beside. It’s frustrating when opponents are neglecting their guild duties, especially when you need something specific (vessels, influence markers, king’s seals, etc.). Sulfur in your barrel can mitigate this obstacle.
Vessels: In a 2 or 3-player game, you may not need a vessel. After all, using a guild action and paying 3 shillings is a commitment when there are so many other valuable things to do. If you do purchase one, optimize its value by ruling several unique regions, pilfering needed resources, or fulfilling the conditions of a Royal Writ charter.
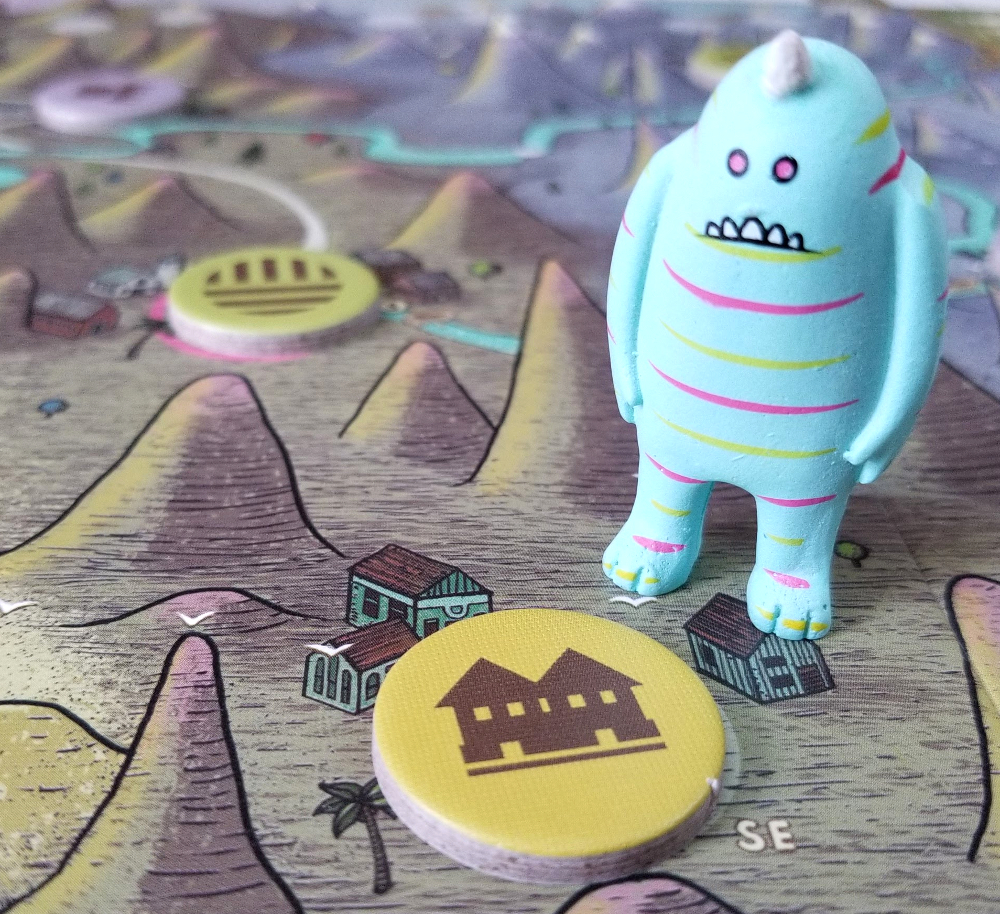
Rawr!
Monsters: The relevance of monsters hinges on whether the Alchemist develops barrels of krud. If influence markers are scarce, they are too valuable to trade in for a monster. However, if your row of influence markers in the Knight Guild is ever full, trading in 3 out of 6 to control a monster can be very advantageous. Having a monster increases your movement allowance, which gives you more pilfer options and pins opposing players, thwarting them greatly. Once an opponent is pinned, it is quite easy to move other pawns onto the space to eventually conquer the player without allowing them to move away.
The Guilds
Pawn Preferences
People often ask me to rank the character pawns. While this is highly debatable, I would personally rank them as follows:
1. Merchant
2. Farmer
3. Knight
4. Alchemist
5. Noble
6. Monk
To understand my logic, let’s break down the importance of each Pawn/Guild.
The Merchant
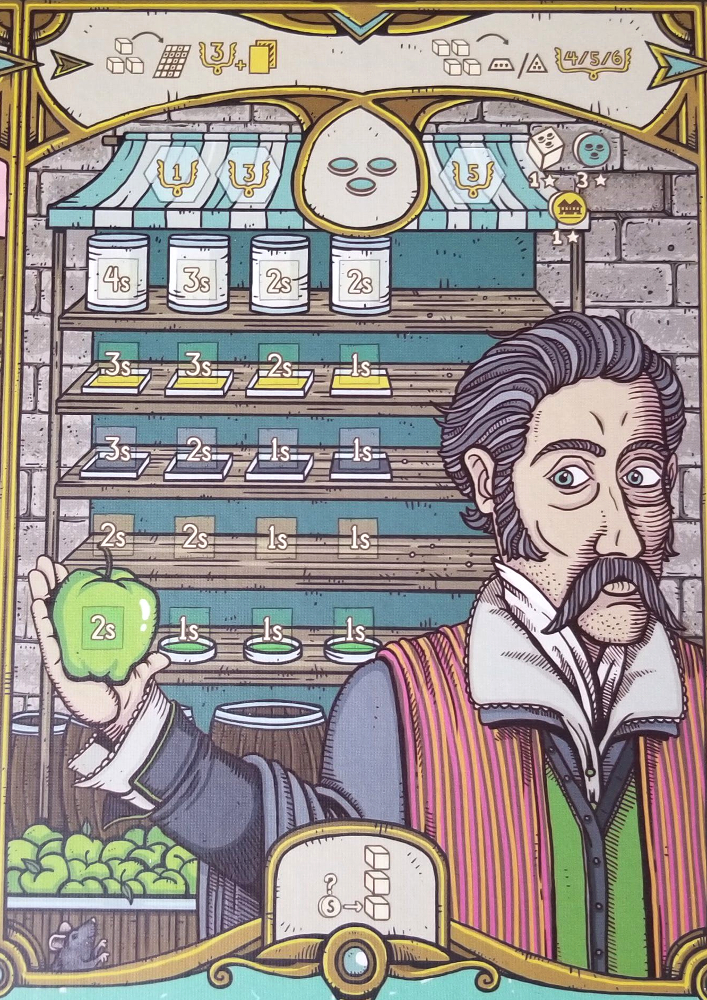 Beginning the game with the Merchant pawn and becoming a member in the Merchant Guild is powerful. It’s not uncommon for players to make several trips to the Merchant Guild during the first few rounds. Any price for goods over 3 shillings will yield the Merchant Guild Master 2 shillings, and this can build up quickly. Having money opens up purchasing options for a player. Being able to buy 2 king’s seals for 6 shillings or several costly saltpeter without blinking an eye is quite liberating. The Merchant pawn’s special ability, ‘Money is Influence’, is also powerful, and frankly, I have not seen it used to its full potential yet.
There are some downsides to the Merchant pawn, however. Because of this guild’s popularity, it’s easy to get caught up in a race to rule towns with other players trying to unseat you. This means you could unwittingly find yourself as the Journeyman, scoring 3 points per epoch instead of 5. Moreover, I have seen defensive games where players limit their trips to the Merchant Guild and accumulate goods through farming or tending landscapes instead. I have played in several games where the merchant was less wealthy than the monk or farmer, who collect shillings from the church coffer and farmer’s purse!
Finally, the merchant shares a synergy with the Noble whose guild status is also increased with ruled towns. If your Noble successfully uses her ‘Starve the People’ ability to satisfy military service, you may then safely improve towns into feudums. However, by improving to feudums, you simultaneously weaken your hold on the Guild Master positions in the Merchant and Noble Guilds, presenting an interesting trade-off.
The Farmer
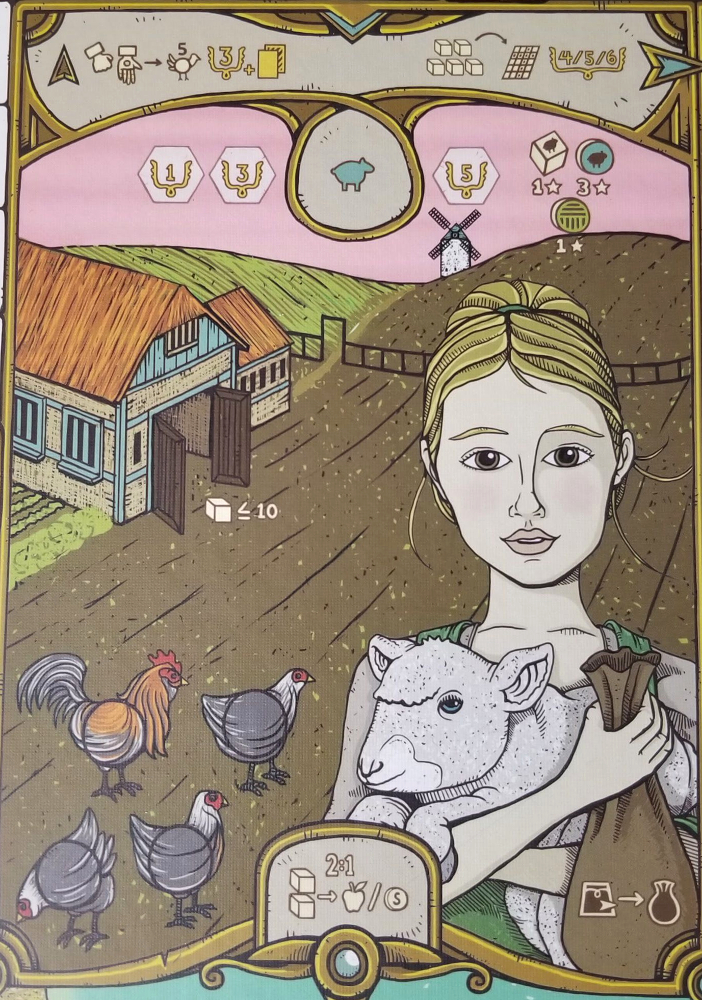 I rank the Farmer second for several reasons. First, drawing favors visibly with her “Inspect the Crop” ability is a wonderful (and often underestimated) way to serve yourself saltpeter (or other goods that you need). Obviously, saltpeter is the Knight’s friend, which is why there is synergy between the Farmer and the Knight.
Playing the Harvest Action twice before shipping your crop to the barn is the most efficient way to amass goods. Next, if you pair this with a rosary bead to increase your harvest, you can amass enough food to eliminate the risk of starvation for good! This is critical, because it frees you up to worry about other things – like amassing VP. Finally, the Farmer’s purse is nifty way to enrich yourself.
The Knight
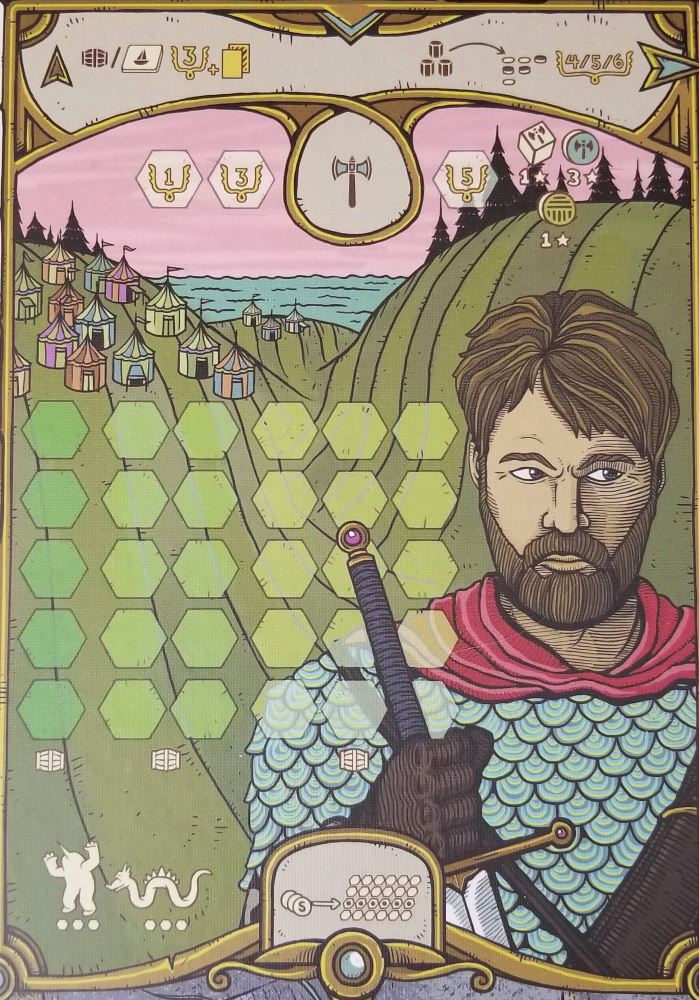 I rank the Knight third because (along with the Noble) it is a character that makes people uneasy. If you’re the Knight, and you have saltpeter, you have the power to conquer pawns and feudums at will. I say ‘at will’ because there are ways to guarantee yourself a successful attack. If you’re targeting a pawn, a sequential action maneuver prevents them from moving away. If you’re targeting a feudum, well, they don’t move at all. So, any cheaply defended feudum (no subject present) is like a pawn (a defense of 2) that can’t move! Using two or more saltpeter on one attack may seem costly, but if you’re playing a Farmer / Knight combination, it’s not too difficult to build up a supply of saltpeter. And, of course, an unused region tile also doubles as a saltpeter in a pinch, and it’s easily overlooked by opponents.
So, why all the effort to conquer to begin with? For one, there’s power in targeting a specific opponent and kicking them out of a guild on the brink of an epoch change! Moreover, if a feudum strategy is part of your plan, then a conquer action can actually yield you the most VP you can score in the game in one action (if you take into consideration the disloyalty points). For instance, if you build a feudum in the first epoch, then the first military service space will cost you 9 points in negative disloyalty. If you conquer a pawn in the first epoch, you’ll score 2 points plus save yourself 9 for a total of 11 VP. Although it is not readily evident, conquering greatly optimizes the ROI of feudums. Some may say they can make up these points by performing the guild push action twice in a round instead. This is true, but why not do this and conquer in the same round for even more points?
Additionally, don’t forget the Knight’s ‘Reinforcements’ ability. If the Alchemist is deliberately limiting influence markers from entering the game (this happens frequently), the Knight need only perform taxation a few times to earn a few markers!
Finally, there’s the Knight’s Guild push function that can eliminate your opponents’ influence markers at the beginning of the game and increase the likelihood your row is the only one that reaches 6 markers during barrel production.
The Alchemist
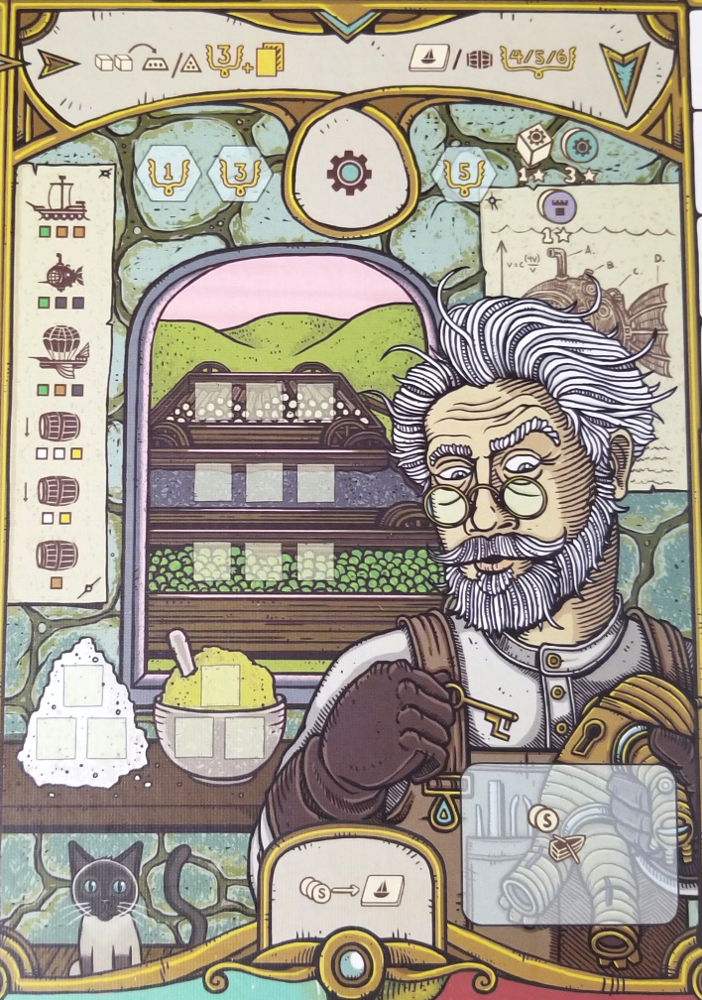 At the beginning of the game, choosing the Alchemist might be stronger than the Knight or Farmer. Its ‘Distant Kin’ ability allows you to spread out quickly and take advantage of what some consider the best opening move:
1. Migrate a new pawn to any starting location
2. Influence
3. Move
4. Repeat Influence
In the first round, you could rule 4 locations. And, of course, using a sequential action maneuver to migrate and conquer can be unexpected. Perhaps the most significant benefit of being an Alchemist though is his guild power. Save for the Journeyman in the Knight Guild, the Alchemist is the one character who decides whether there are vessels and influence markers in the game. An alchemist who discovers an archery butts tile can limit markers for others while enjoying an unlimited supply himself!
The Noble
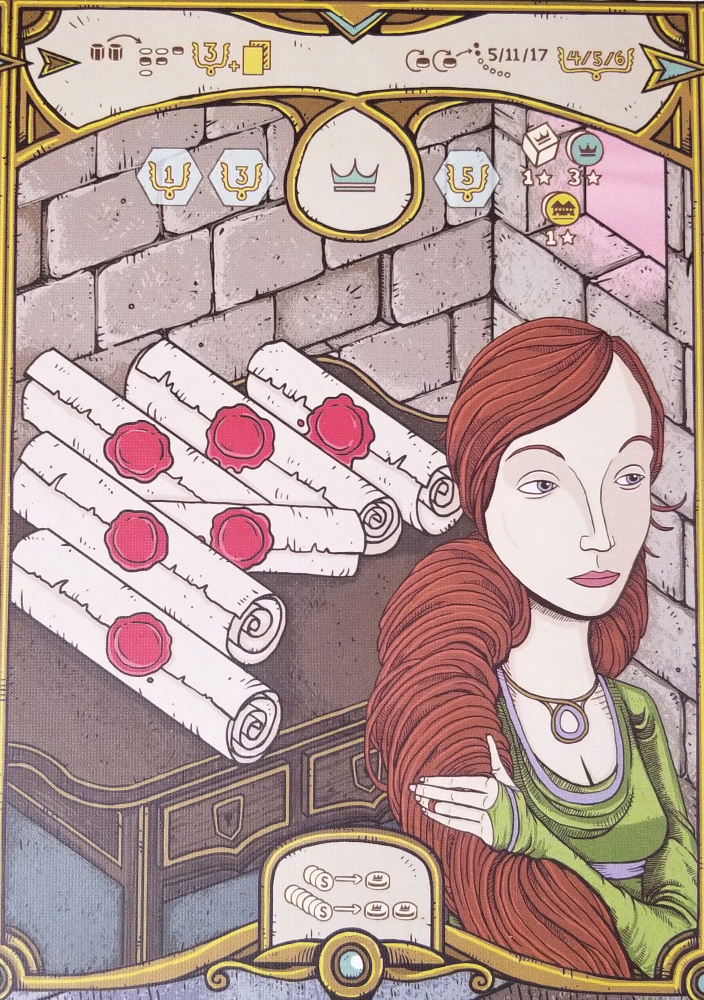 To me, the Noble’s greatest power is the discount her membership earns her in the Noble Guild. Acquiring 2 king’s seals for 4 shillings (even though you have to have 6 total shillings for the transaction) is quite a bargain, especially if you do it again before the game ends. Beyond that, her ‘Starve the People’ special ability may come in handy to get on the military service track. It’s actually, a sneaky way to do it, and while you don’t score points for the action, it is often not defended unless she targets a landscape-tending serf.
It’s possible I underestimate this pawn. I personally like to tend landscapes, and I don’t like to see the Noble pawn anywhere near me! To that end, it’s a character that fosters apprehension and forces other players to use up actions to mitigate potential damage (e.g. Playing a defend card to thwart a ‘Starve the People’ attack). I once saw a Noble used with a Merchant effectively to overtake a feudum reinforced with a subject. The player starved the subject with the Noble, then played ‘Money is Influence’ with the Merchant to take over the feudum in two actions. Granted, such a play is telegraphed somewhat and counterable via a defend card, but it’s definitely doable.
The Monk
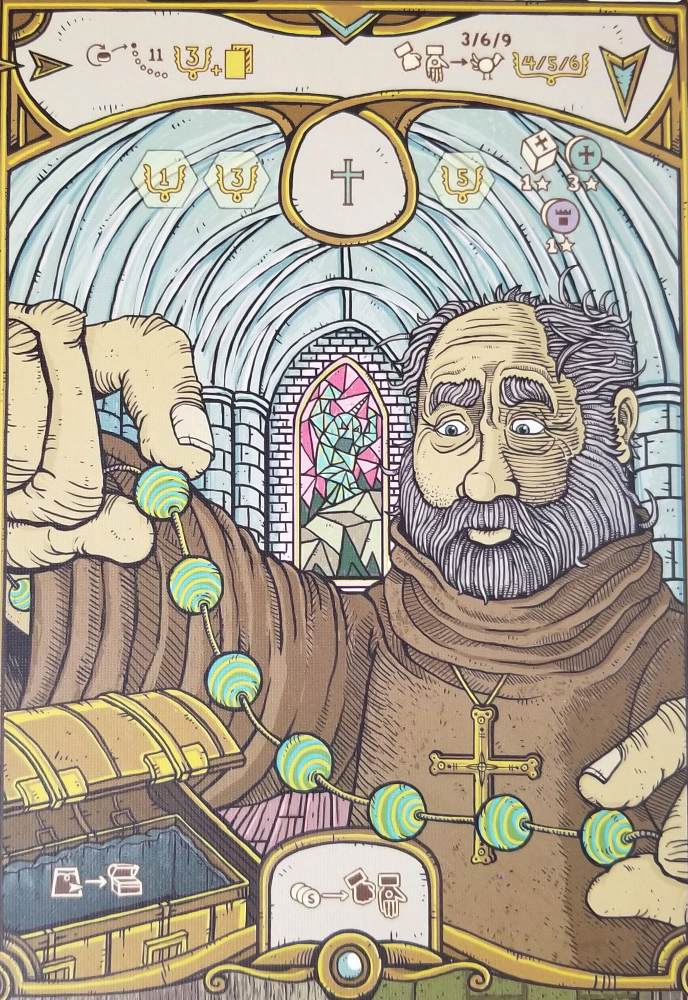 Finally, there’s the Monk. I don’t like ranking him last, because it’s a character I frequently play. His ‘Godspeed’ special ability comes in handy frequently, and his unpopularity often means an uncontested 5 points in the guild at the dawn of each epoch.
Plus, unlike other guilds that quickly run out of guild push options, the monk is guaranteed three consecutive pushes into the Farmer Guild, with the ever-increasing likelihood of maximizing victory points on the action.
And then there’s the church coffer. I’ve seen an ungodly amount of money collect here, and it’s always just one push action away.
Strategies & Other Considerations
Now that the characters have been discussed, let’s look at the more common strategies in Feudum.
The Feudum Strategy
Feudum is the name of the game. So, why not build a couple of feudums early on? Attack quickly to eliminate disloyalty and maximize your points. Double up on influence markers at feudums to protect your asset from the Merchant’s ‘Money is Influence’ power and / or anyone’s attempt at taking over rulership or conquering your feudum. You will have less influence markers to spread out and rule other regions, but this is the trade-off!
This strategy is supported by the Noble (for inexpensive king seals), the Knight (for unlimited saltpeter on attacks / extra influence marker during taxation) and the Farmer (to serve yourself saltpeter favors to enhance attacks).
The Large Empire Strategy
Immigrate at least two pawns to the board and influence multiple locations early. Also, purchase a vessel or two and go Bon Voyage! Spread out to as many regions as possible to maximize unique region scoring. Remember: you will score 1 point for each location and 3 bonus points for any matching 3 locations at the game’s end.
This strategy is augmented with the Monk (for the extra movement point) and the Alchemist (to migrate away from starting pawns). This strategy can also be augmented with epic voyage points and the Merchant (who can unseat rulers early on during an influence action).
A word of warning though: other Merchants can upset this strategy with ‘Money is Influence’ early in game. Also, an Alchemist who refuses to produce barrels can also make this strategy very difficult to realize.
The Improvement & Landscape Strategy
Tending multiple landscapes is a viable standalone strategy. Scoring 2/4 on landscapes per epoch on 2-3 landscapes as early as you can is quite powerful. But watch out for Nobles, of course, who can starve your serfs.
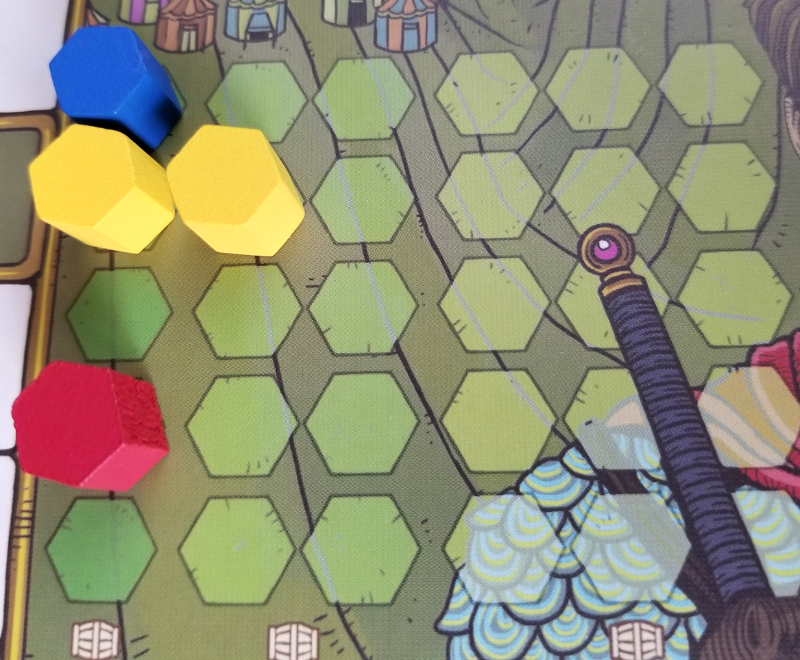
Landscapes for days!
Timing improvements to maximize epoch points and leaving yourself with like-kind locations at the game’s end can supplement this strategy. The Merchant (for reduced cost of resources) and the Farmer (for visible kickbacks needed to make improvements) can maximize this strategy. Also, the Knight’s ‘Reinforcements’ special ability equips you with extra influence markers so that you can have a balance of serfs and rulers.
The Guild & Reeve Strategy
Pushing and pulling resources from one guild to the next throughout the game can be a path to victory – especially if you can do it twice in one round. Depending on the Monk’s rosary, it may be feasible to score 5 or more points each over several push actions before the barn’s surplus fills up. Also, keeping sulfur in your barrel to perform the ‘Feast’ (+3 bonus) can ensure you have plenty of guild options.
Bonus VP is always a plus
Be careful, as push and pull potential can dry up quickly. Moreover, foregoing the trade function of the guild action may leave you without essential resources. Additionally, you will be leading early on with this strategy and therefore become a target for those wishing to conquer or out-influence you in a location.
The Generalist Strategy
While a having a plan is important, sometimes it is wise to be flexible and adapt quickly to game conditions. Opportunistically grabbing points as they present themselves can be advantageous, but be careful with a completely ad hoc approach. You must keep an eye on changing epochs and position yourself to optimize both epoch and final scoring while avoiding disloyalty.
Supplemental Strategies
There are lots of interesting ways to score points, but not all of them are standalone strategies. The following are what I consider supplemental strategies that can be paired together in varying ways to suit your style of play:
Not quite Lord of the Rings long, but close
Epic Voyage: The best way to benefit from the epic voyage track is when movement is vital to other things you’re doing, such as pilfering resources, moving to conquer or moving to spread out. The repeat action is too valuable to use on a second move unless you’re optimizing the action.
Force a Marker Shortage in Knight Guild: Pushing opponents’ influence markers (as the Knight) can be a nice defensive strategy if krud barrels are not being invented. This can give you a slight advantage until the third epoch when guilds are replenished.
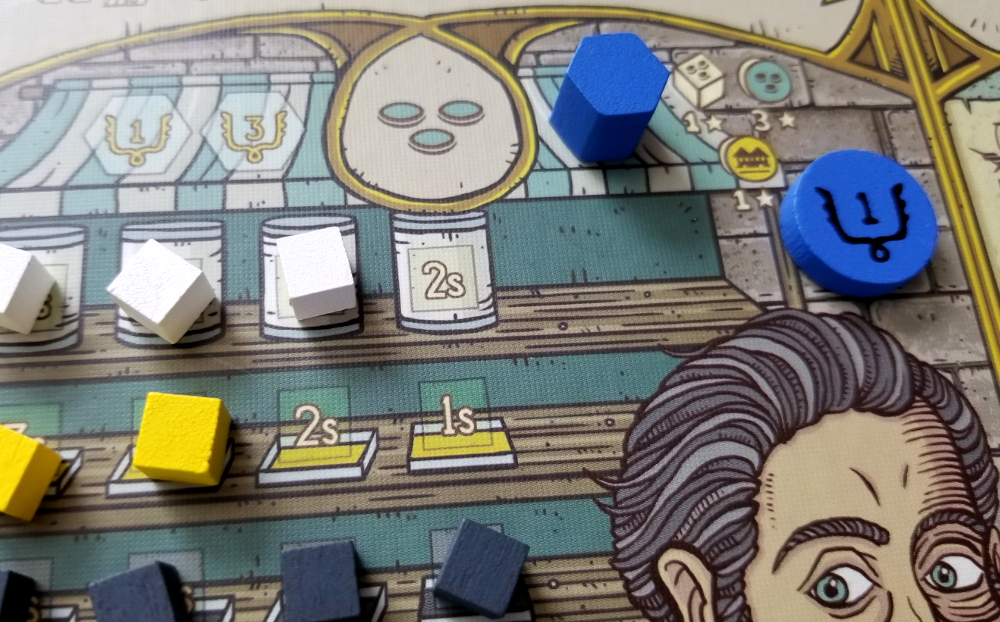
New Influence appears to be quite lacking at present
Control Vessel / Influence Marker Production in Alchemist Guild: The Alchemist decides the supply of influence markers in the Knight Guild. This can be combated by the Journeyman in Knight Guild who may invent 1 barrel’s worth of influence markers. Additionally, the Knight pawn enjoys the ‘Reinforcements’ ability with his tax action. Finally, the archery landscape tile will serve you plenty of influence markers, if you can find one.
Focus on Improvements: Scoring 3-7 points on the fly for upgrades is a good way to go. Collecting region tiles is extremely valuable as they can be traded in for any other goods in a pinch or saved to tend a landscape or two, which will supply you with as steady stream of resources while scoring 2/4 VP every epoch.
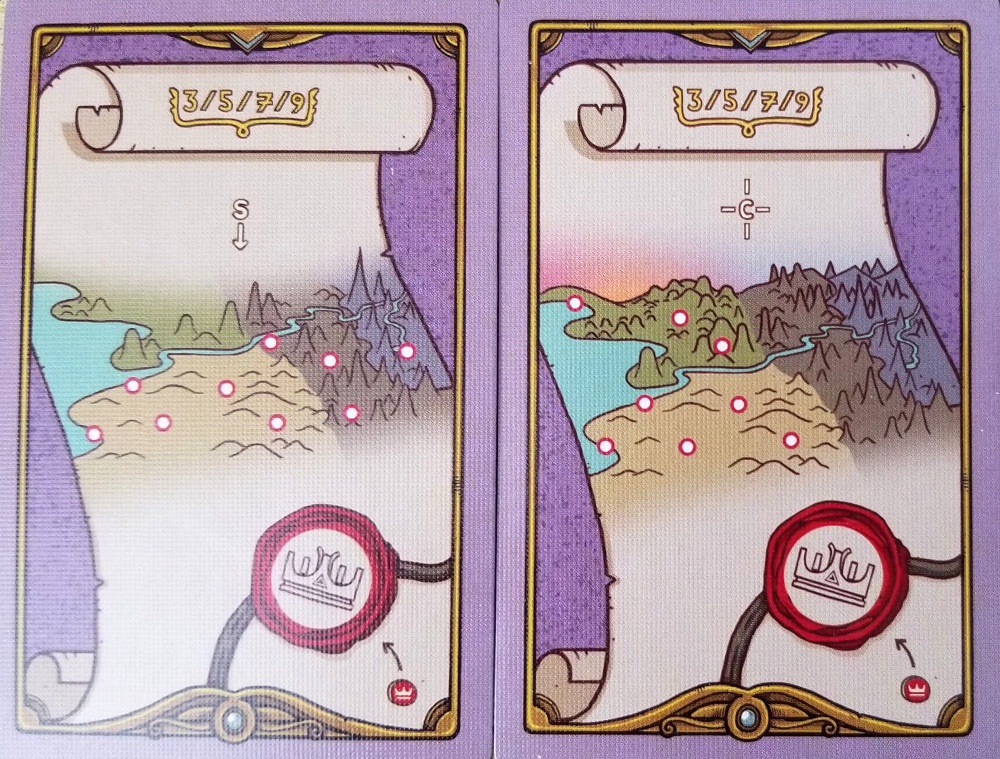
The right Writs can yield loads of VP
Royal Writ Cards: 6 of the 16 cards reward you for focusing on an isolated area. If you can pair two overlapping cards together (e.g. East / Central, North / South, South / Central), you can double up on points simply for ruling locations. The key is to draw Royal Writs early in the game so you can plan ahead. Purchasing 1 or 2 king’s seals at 3/6 shillings apiece can make this difficult. However, membership in the Noble Guild will earn you 1-2 shillings back. Since Royal Writs are revealed at the end, sometimes you can stage a come-from-behind victory. Imagine scoring 18 VP at the end of the game with 2 overlapping cards!
Final Thoughts
I hope these musings serve as a catalyst for further discussion. I realize I’ve only scratched the surface here, but I’m hoping fans will fill in the rest of the blanks. I’d love to hear about your favorite pawns to play, the guilds you like to manage and the strategies you’ve discovered! Long live the king!
Feudum creator Mark Swanson was gracious enough to supply this strategy guide. He can be found most readily via Email.
Discuss this, and other articles, on our social media!